Microservices, Docker and Django - Part II
A typical web application has a set of components that work together such as the application backend, the frontend, the database or other components such as cache services, proxy servers, etc. Docker is a great tool to decouple our different services and isolate them. In this post we will decouple our web application into two services, the application and the database.
We start by getting a copy of our code base:
1 | $ git clone -b postgres https://github.com/AlexPnt/MusicWallet.git |
Our project structure is as follows:
1 | └── MusicWallet |
We declare our two services in a configuration file called docker-compose.yml .
1 | version: '2' |
We declare our database service 'db' and our web application 'web'. The database service pulls a docker image from the official repository, setups up some credentials and expose the standard ports. The service 'web' uses our code base to build an image that will serve requests on port 8000.
Our 'web' service used a file called Dockerfile to setup the docker image:
1 | FROM python:2 |
This file simply instructs docker to copy our code base into the container and install all the required dependencies. Besides, it also runs some setup commands specified in docker-entrypoint.sh, which applies migrations to the database, copy the static files to a single location and starts the web server:
1 |
|
We are now ready to launch our services. Starting with the database service, with these docker commands we can quickly launch our new database container and create our new database:
1
2
$ docker-compose up db
$ docker-compose run --rm db psql -h db -U postgres -c "CREATE DATABASE musicwallet_db"
Similarly, we build our web application and launch it: 1
2$ docker-compose build web
$ docker-compose up web
If we want to inspect if our services are running, we can use the docker-compose command ps: 1
2
3
4
5
6$ docker-compose ps
Name Command State Ports
-----------------------------------------------------------------------------------
musicwallet_db_1 docker-entrypoint.sh postgres Up 0.0.0.0:5432->5432/tcp
musicwallet_web_1 /docker-entrypoint.sh pyth ... Up 0.0.0.0:8000->8000/tcp
It seems to be working. We can further inspect the logs to see if any error occurred during launch:
1 | $ docker-compose up |
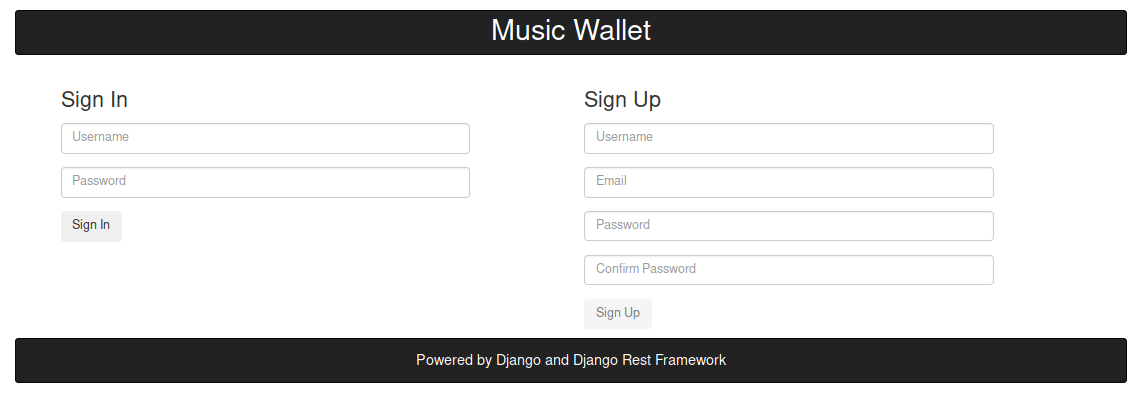
Finally, we can head over to localhost:8000:

The web application is ready to be used ! You can live test it here.
Alternatively, you can use perform REST calls using the httpie client.
Obtaining the authentication token:
1 | $ http --json POST localhost:8000/api-token-auth/ username=myuser password=mypassword |
List users: 1
$ http GET localhost:8000/api/users/ Authorization:"Token <token_id>"
1
$ http GET localhost:8000/api/users/<id>/ Authorization:"Token <token_id>"
1
$ http --json PUT localhost:8000/api/users/<id>/ username=newname email=newemail password=newpassword Authorization:"Token <token_id>"
1
$ http DELETE localhost:8000/api/users/<id>/ Authorization:"Token <token_id>"
1
$ http GET localhost:8000/api/musics/ Authorization:"Token <token_id>"
1
$ http GET localhost:8000/api/musics/<id>/ Authorization:"Token <token_id>"
1
$ http --json POST localhost:8000/api/musics/ title=mytitle artist=myartist album=myalbum Authorization:"Token <token_id>"
1
$ http --json PUT localhost:8000/api/musics/<id>/ title=newtitle artist=newartist album=newalbum Authorization:"Token <token_id>"
1
$ http DELETE localhost:8000/api/musics/<id>/ Authorization:"Token <token_id>"
1
$ http POST localhost:8000/api/users/<music_id>/add_fav_music/ Authorization:"Token <token_id>"
1
$ http DELETE localhost:8000/api/users/<music_id>/remove_fav_music/ Authorization:"Token <token_id>"